How to make a soy candle, start to finish
Updated
On this page8
To make a soy candle, you melt a measured weight of container soy wax in a pitcher set in a double boiler, add dye and fragrance oil at the temperature your wax's instructions give, stir, cool the wax to its pour temperature, pour it into a clean jar with a wick centered and held upright, and let it set and cure before you burn it. This page follows one supplier's published beginner instructions, CandleScience's soy candle tutorial, with every quantity and temperature attributed to it. It then corrects the tutorial's fragrance arithmetic, fills in what it leaves out, and shows what to change when your wax is different.
Where these numbers come from
There is no government or university tested method for candles the way there is for canning. The working figures come from the companies that make and sell the wax and wicks. This walkthrough uses CandleScience's How to Make a Soy Candle, updated October 27, 2025, a beginner project the supplier describes as taking about 30 minutes and making 2 candles [1]. The quantities, temperatures and wick below are CandleScience's, for its own wax and jar. They are a sound first project because the supplier chose the wick to suit that wax in that jar. If you change the wax, the jar or the wick, the numbers can change, and the last section shows how.
What CandleScience's tutorial uses
| Item | As listed in the tutorial [1] | Why it is there |
|---|---|---|
| Wax | CandleScience SimplySoy Artisan Wax, 1 lb (16 oz, 454 g) | Container soy wax, made to be poured into a jar |
| Wicks | CD 18 cotton wicks, pretabbed, 6 inch, one per jar | The size CandleScience pairs with this jar and wax |
| Wick stickers and wick bars | Large wick stickers; wick bars | The sticker fixes the wick tab to the jar floor; the bar holds it straight while the wax sets |
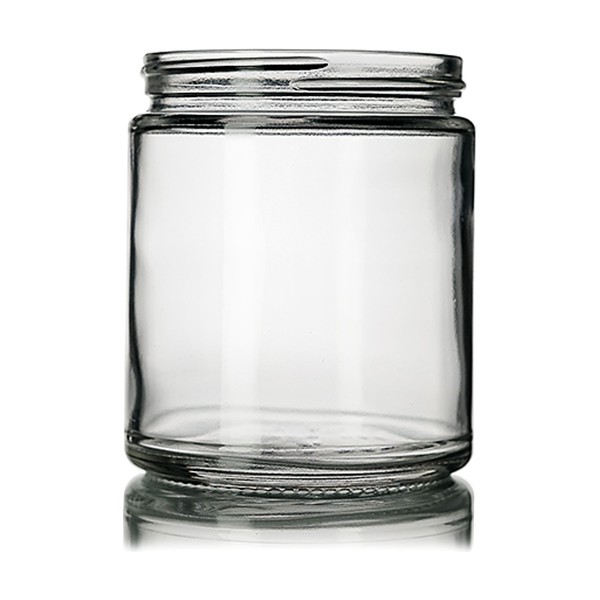
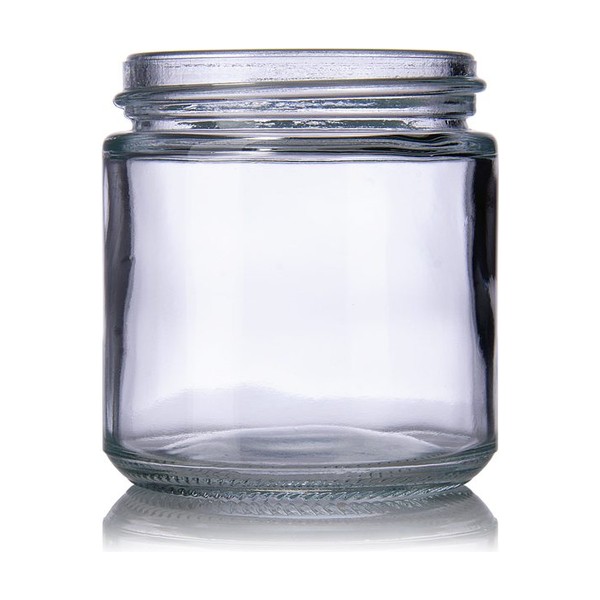
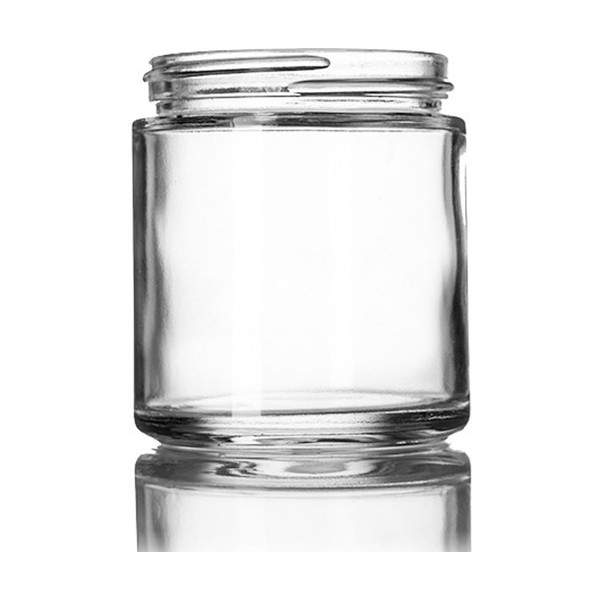
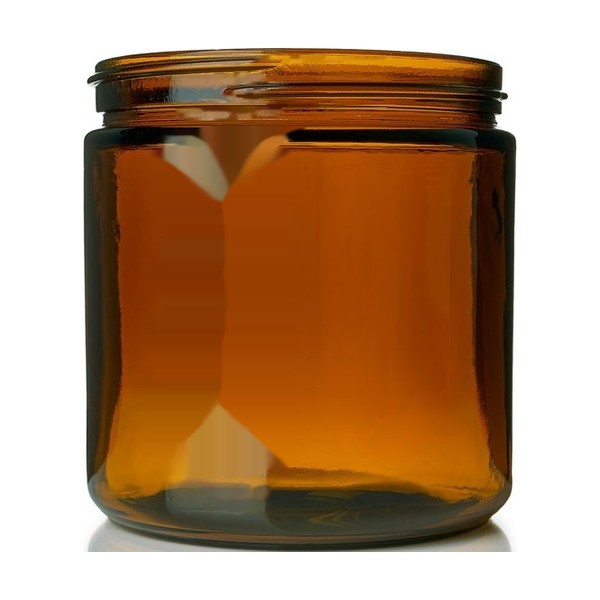
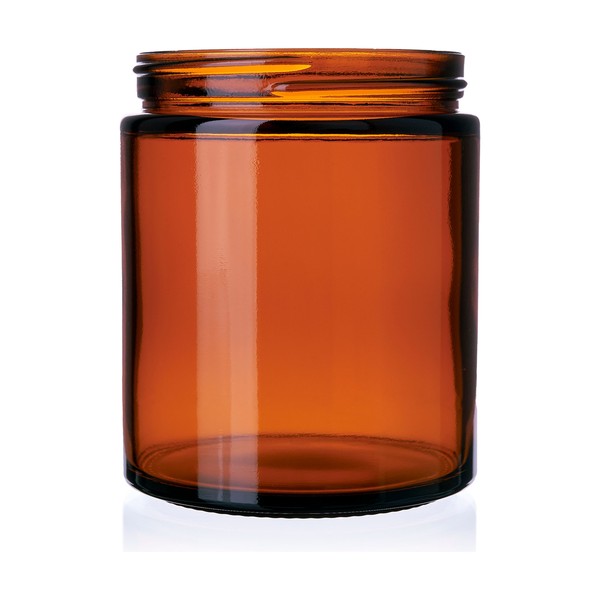
| Jars | Straight-sided tumbler jars (Libbey) | The jar the wick size was chosen for |
| Dye | One Caribbean Blue dye block, half used | Optional color |
| Fragrance oil | One 1 oz bottle of High Tide fragrance oil | Scent |
| Tools | 8 inch glass thermometer, small pouring pitcher, double boiler or hot plate, stirring spatula, paper towels, isopropyl alcohol, scissors; knife and cutting board for the dye | Melting, measuring and cleanup |
| Labels | Round warning labels, 1.25 inch | Safety wording for the bottom of each candle |
Add one thing the tutorial does not list: a kitchen scale. The tutorial uses a 1 lb bag and a 1 oz bottle, so it can skip weighing, but every candle after this one starts with weights, and a scale is what lets you repeat a candle you like. The equipment page covers what resolution you need.
The pour, step by step
Clear a flat counter or table that can stay undisturbed for several hours while the candles set, as the tutorial advises [1]. Keep children and pets out of the room while wax is hot. If you have not yet read what to do if wax catches fire, read it before you turn on the heat.
- Melt the wax. Put the wax flakes in the pouring pitcher and heat them in a double boiler or on a hot plate. CandleScience notes that its wax bag is heat-safe and can be microwaved by following the instructions on the bag [1]. Do not put a pitcher of wax directly over a burner flame, and never leave melting wax unattended.
- Prepare the jars while the wax melts. Wipe the inside of each jar with a little isopropyl alcohol on a clean paper towel and let it dry. Press a wick sticker onto the metal tab at the base of each wick and stick it to the center of the jar floor. Set a wick bar across the rim to hold the wick upright once the wax is poured [1].
- Add the dye. When the wax is fully melted, snap or cut the dye block in half, add one half to the wax and stir until it is completely mixed in [1].
- Add the fragrance at 185°F. Clip or hold the thermometer in the wax. When it reads 185°F (85°C), add the 1 oz of fragrance oil and stir gently for 2 minutes so the oil blends fully into the wax [1]. Stir slowly, without whipping air into the wax. CandleScience's own product page for SimplySoy gives a slightly different figure: heat to 180°F (82.2°C) in a double boiler, then add fragrance and stir for two minutes [5]. Both come from the same supplier and sit 5°F apart. This page follows the tutorial's 185°F because it is the published walkthrough the rest of the steps belong to; either is within what CandleScience publishes for this wax.
- Cool to 160°F and pour. Let the wax cool in the pitcher to 160°F (71°C), then pour it slowly into the jars, keeping the wicks held by the wick bars [1]. Pour to the same height in both jars.
- Let the candles cool completely at room temperature [1]. Do not move them, put them in the refrigerator or set them in a draft. The GW 464 instructions, for comparison, assume candles cool undisturbed in a 70°F room about 1/2 inch apart [3]. Rough tops and wax pulling away from the glass, both linked to cooling, are covered on what your first candle will look like.
- Remove the wick bars and trim. Once the wax is hard, take off the bars and trim each wick to 1/4 inch (6 mm) [1]. Trimming before every burn has its own page.
- Label the bottom. CandleScience finishes by placing a warning label on the bottom of each candle [1]. What that label should say is on the warning label page.
That is where CandleScience's instructions end. Several things still stand between this pour and a candle you can rely on, and they follow below.
The fragrance arithmetic, done correctly
The tutorial calls 1 oz of oil in this batch "approximately a 7% fragrance load" [1]. By either common measure it is less: 1 oz of oil per 1 lb of wax is 6.25 percent of the wax weight and 5.9 percent of the finished candle. CandleScience's own support center gives the same amount a third way: "A common amount to use is 6% or 1oz per pound of wax" [2]. The practical lesson is that "percent fragrance" means nothing until you know what it is a percent of. CandleScience states its SimplySoy maximum, "10% or 1.6 ounces per pound of wax," against the wax weight [2], and at 1 oz in 1 lb you are well inside it. The conversion both ways, with a table, is on the fragrance load page.
What the tutorial leaves out
How long to wait before you light it
The tutorial gives no cure time [1]. CandleScience's product page for the same wax does: "Allow candles to cure for at least two days for optimal fragrance throw" [5]. Soy wax keeps firming and settling for some time after it looks solid, and a candle burned the same evening it was poured tells you little about how it will burn later. Supplier figures differ by wax. The manufacturer's instructions for Golden Brands GW 464, a different soy wax, say candles should sit undisturbed for 48 hours before test burning [3]. CandleScience let its coconut apricot test candles cure 3 days before hot throw testing [4]. For your first candle, wait at least as long as the data sheet for your own wax says, and if it says nothing, ask the seller for the manufacturer's figure rather than guessing. How long each named wax should cure, and why the figures differ, is on the curing page.
Why a CD 18, and why it may not suit your jar
A wick is sized to the diameter of the candle and to the wax and fragrance around it. CandleScience chose the CD 18 for its tumbler jar and its SimplySoy wax [1]. The tutorial does not explain the choice, so it cannot tell you what to use in a different jar. If your jar is wider or narrower than CandleScience's tumbler, start from the wick maker's chart for your wax and jar diameter, then burn test. How to find the right wick size explains how to read a chart and test around it.
How much wax your jar actually holds
One pound of wax filled two of CandleScience's tumblers [1]. Your jars may hold more or less. A jar's fluid ounce capacity is not the weight of wax it takes, so the dependable way to find out is a test pour: fill one jar with melted wax to the line you want, weigh it, and use that weight for every batch after. Finding your fill line walks through it.
Whether it burns well
A candle that looks good may still tunnel, smoke or burn with a tall flame. The first burn tells you most of what you need to know, and the checks are on how to tell if your first candle is any good.
Whether the jar is made for candles
The tutorial uses a jar sold for candles. A decorative glass or a reused food jar may not be made to handle the heat of a burning candle. Before you swap jars, read which glass is safe for candles.
When your wax is not SimplySoy
Temperatures, fragrance limits and cure times belong to a specific wax. If you are using a different one, use its own instructions. The table shows how far three published sets of figures differ.
| Step | CandleScience SimplySoy (tutorial [1] and product page [5]) | Golden Brands GW 464 (manufacturer's instructions as published by Voyageur) [3] | CandleScience coconut apricot (Lab Notes) [4] |
|---|---|---|---|
| Melt point | 122 to 128°F [5] | 113 to 119°F | Not stated in the Lab Notes |
| Add fragrance at | 185°F (tutorial); product page heats to 180°F | 185°F, off the heat | 190°F (plus or minus 5°F) |
| Stir | 2 minutes | About 2 minutes, gently | Not stated |
| Pour at | 160°F (plus or minus 5°F on the product page) | 125 to 145°F; start at 135°F | 175°F (plus or minus 5°F) gave the supplier's best results |
| Fragrance limit | 10 percent, or 1.6 oz per lb of wax, in containers [2] [5] | "Recommended maximum scent load is about 7-9%"; "About 9% Max" in the product details (basis not stated) | Up to 15 percent; in a 113°F oven test some candles at 15 percent melted out of their jars, while those at 13 percent or less held |
| Wick series named | CD and LX [5] | None named | LX performed well; ECO kept at 10 percent fragrance or less |
| Wait before burning | At least two days for best fragrance throw [5] | 48 hours before test burning | 3 days before hot throw testing |
So if you follow this walkthrough with GW 464, use its own figures: fragrance at 185°F off the heat, and a much cooler pour, between 125 and 145°F, starting at 135°F. If you use coconut apricot, CandleScience's figures put the fragrance step a little hotter and the pour hotter. Either way, burn test the result before you trust it. If your wax came with no instructions at all, ask the seller for the manufacturer's data sheet before you pour; reading a data sheet shows what each line means.
Whatever you change, change one thing at a time and burn test the result. A new wax, jar, fragrance or wick makes a new candle.
When the wax has set: what to look for
Before you light anything, look at the candle you just made. Most first soy candles have a slightly rough or bumpy top, a cloudy patch where the wax has pulled away from the glass, or a small dip around the wick. Some of that is cosmetic and some of it points to the wick. What your first candle will look like, and why sorts out which is which and tells you the one change worth making on candle two.
References
- CandleScience, How to Make a Soy Candle, updated October 27, 2025. https://www.candlescience.com/learning/how-to-make-a-soy-candle
- CandleScience Support, How much fragrance oil should I add to melted wax?, updated April 30, 2026. https://support.candlescience.com/en_us/how-much-fragrance-oil-should-i-add-to-melted-wax-B15NnQAWl
- Voyageur Soap & Candle, Golden Brands GW 464 Soy Container Candle Wax (product page with manufacturer's instructions), undated, read October 22, 2026. https://www.voyageursoapandcandle.com/Golden_Brands_464_Soy_Wax_p/20264.htm
- CandleScience, Lab Notes: CandleScience Coconut Apricot Wax, undated (images dated April 2024), read October 22, 2026. https://candlescience.com/lab-notes-candlescience-coconut-apricot-wax
- CandleScience, CandleScience SimplySoy Artisan Wax (product page with instructions and applications), undated, read October 22, 2026. https://www.candlescience.com/wax/candlescience-simplysoy-artisan-wax