How to mount and view micromounts
Updated
On this page8
A micromount is a specimen so small it needs magnification to be seen and identified properly [1][2]. It is mounted on a small support inside a small box with a lid, labeled on the box, and viewed under a stereo (binocular) microscope, which a long-time micromounter called "the only major piece of equipment needed" [3]. The specimen can be tiny: the same writer gave two millimeters as about the smallest that can be mounted [3]. This page explains what a micromount is, how they have traditionally been mounted and boxed, what to look for in a microscope, how to start, and where micromounters meet.
What makes a specimen a micromount
The size classes larger than micromount are defined by inches or centimeters. The micromount is defined by the need for magnification. iRocks says "any specimen which requires magnification for viewing is technically classified as a micromount" [1], and McDougall Minerals says the same in other words: a specimen that "requires magnification to visually identify and appreciate the mineral" [2]. How micromounts fit with thumbnails, miniatures and cabinets is on size classes.
The attraction is simple. Some species are only ever found as tiny crystals, and small crystals of common species can be sharper and less damaged than large ones. A 1957 Arizona Highways article called micromounts "the Lilliputians, sometimes called the flowers or fairies of the mineral kingdom" [3]. A micromount collection of hundreds of species fits in a few drawers, and the material is often cheap or self-collected from dumps and cavities other collectors pass over.
The micromount box
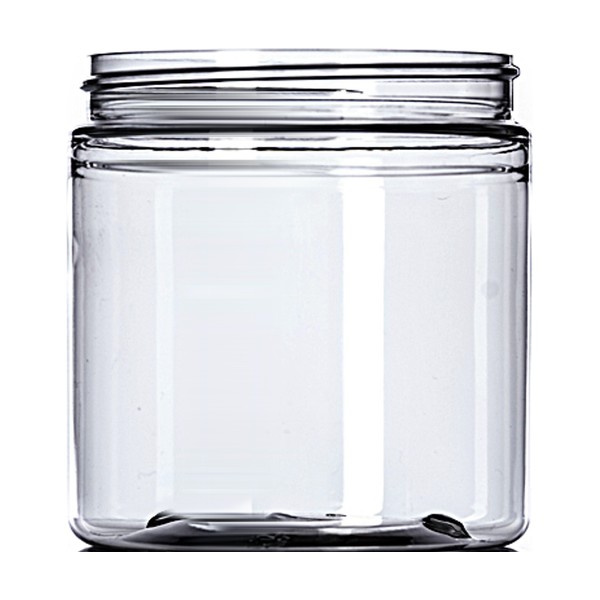
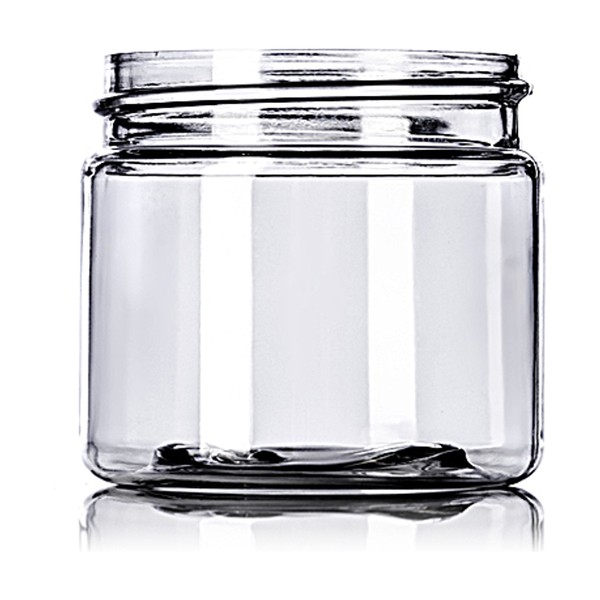
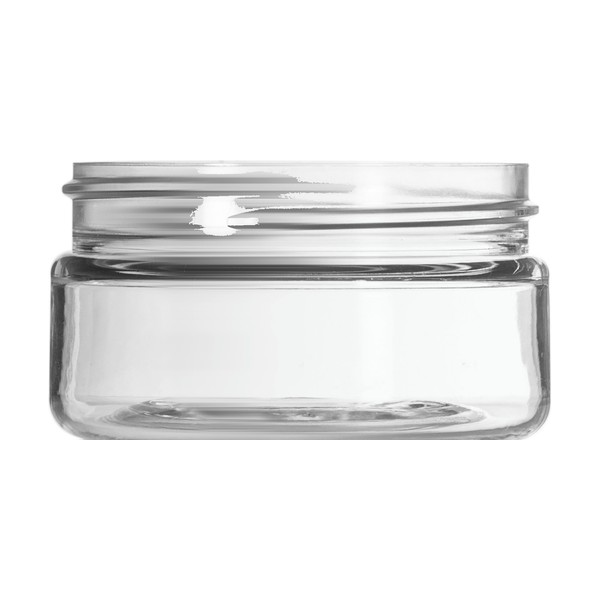
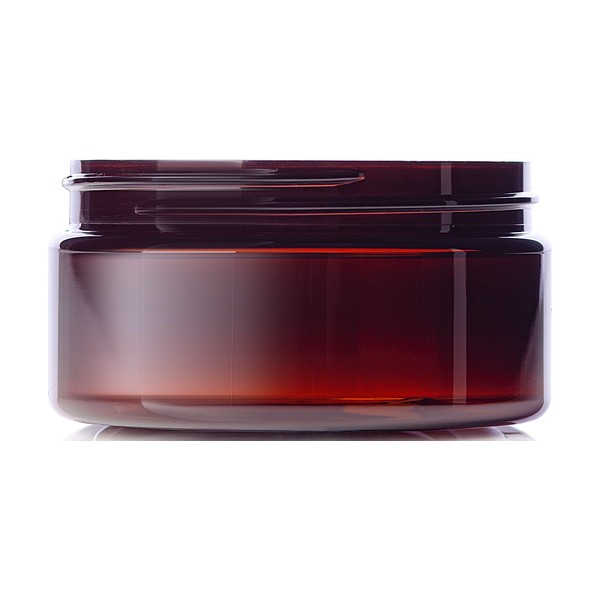
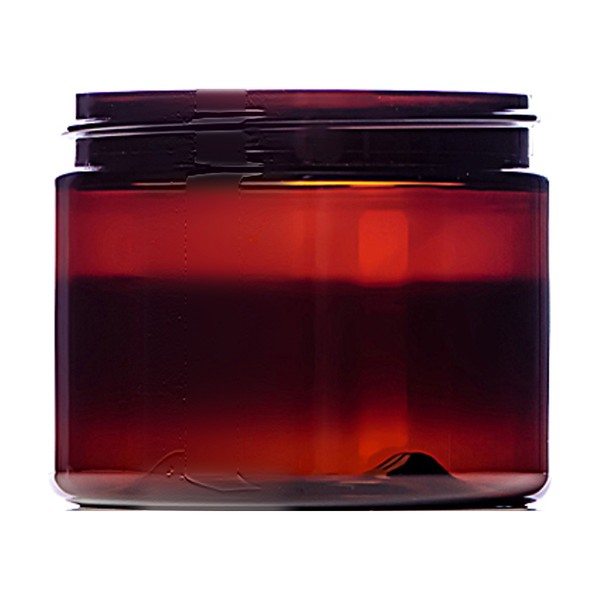
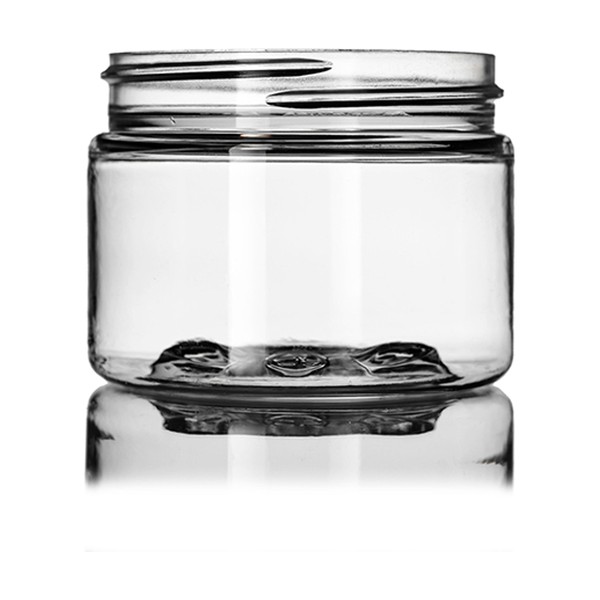
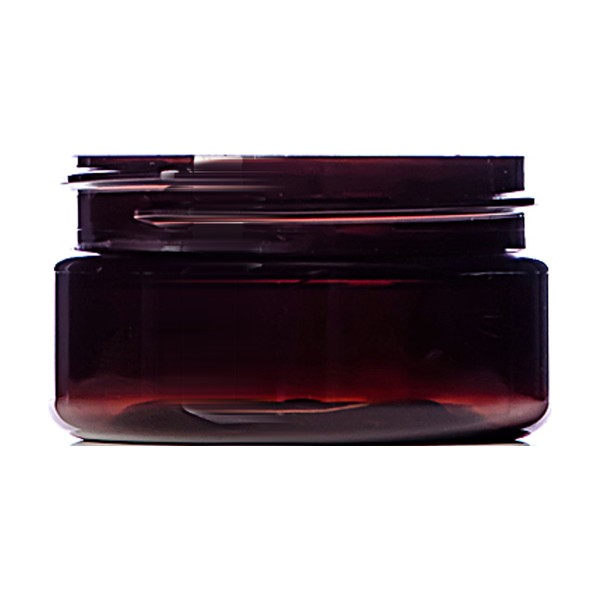
Micromounts live in small, lidded boxes, one specimen to a box, so the specimen can be stored, labeled and put under the microscope without being handled.
What the sources describe:
- The standard box. The 1957 article describes "the standard m/m box" with a slip-on cover, and notes that when the old paper boxes became hard to find, "a clear plastic box of exactly the same size, which is more durable than the paper box" was adopted [3]. (The box's dimensions in the digitized article are garbled, so they are not repeated here.)
- Size as the only limit. The same article says, "There is only one limiting feature as to size: the specimen must be small enough to go into the mounting box" [3].
- Vials for loose material. For very small specimens not mounted on a pedestal, the National Park Service lists "labeled polyethylene, polystyrene, or polypropylene vials" [4].
Box dimensions vary by maker today, and none of the sources cited here gives a current standard. If you join a micromount group, use the box its members use; it makes trading and exhibiting easier.
Mounting the specimen
Traditionally the specimen is fixed to the top of a small pedestal standing on the floor of the box, so it can be seen from every side under the microscope and does not touch the walls.
Traditional supports. Early micromounters used "small corks affixed to the bottom of the box," and the 1957 writer preferred "balsa wood for supports rather than cork" [3].
Adhesive. Micromounts have long been glued to their pedestals, and here the hobby's tradition and museum conservation advice point in different directions:
- The 1957 article warned that "Common glue is not satisfactory because in time it may deteriorate, allowing the specimen to fall off" [3].
- The Canadian Conservation Institute's general rule for objects is that "Applying adhesives or tapes directly to objects is unsafe and not recommended" [5].
No adhesive is recommended here, because none of the conservation sources cited evaluates one for micromounts. If you glue, use the smallest contact you can, on the specimen's base rather than its crystals, choose an adhesive that its maker states can be softened or dissolved later, and record in the catalog what you used. Reversibility is the principle conservators apply to repairs, explained on stabilizing and repairing fragile specimens. If you would rather not glue at all, an unmounted fragment in a labeled vial [4] is still a fine micromount specimen.
Trimming to size
Most micromounts start as a larger piece of rock with crystals in a cavity. The collector breaks or trims out the best part with small nippers or a trimmer, working under magnification. Eye protection matters even at this scale; the methods and protection for trimming are on trimming a specimen. Some material needs care for other reasons: toxic-element species shed dust when trimmed, and the precautions are on handling and storing toxic minerals.
Labeling a micromount
The box carries the label, because the specimen is too small to carry anything. Put the species, locality and your catalog number on the box, usually on the top or one end so the box can be filed on edge or flat. A full label with all fields belongs in the catalog and, if you trade, on a slip that goes with the box. The fields are the same as for any specimen; see what a label has to carry.
Micromount boxes are small enough to swap labels by accident when several are open on the bench. Open one box at a time.
The microscope
The 1957 writer's advice still frames the choice: "For studying micro specimens the ideal instrument is the binocular type, which gives a three-dimensional image," while "the conventional monocular 'scope, much less expensive and more plentiful" also works [3]. He recommended "some type of microscope of not too high magnification" and compared it with "a 15x pocket lens" [3]. None of the sources cited here gives a current recommended magnification range, so none is stated. In practice, try a microscope before buying, at a club meeting or a symposium, with a specimen you know.
| Feature | Why it matters for micromounts |
|---|---|
| Binocular (stereo) view | Depth: you see crystal form, not a flat image [3] |
| Low to moderate magnification | Whole crystals stay in view and in focus [3] |
| Long working distance | Room under the lens for the box and pedestal, and for tools when trimming |
| Good lighting from above | Specimens are opaque; light must come from the viewing side |
How to start
- Look at someone else's collection first. A club meeting or symposium is the fastest way to see what micromounting is like.
- Get or borrow a stereo microscope and try it on material you already own; many hand specimens have micromount-sized crystals in their cavities.
- Collect material with cavities: dump rock, vug linings, and the broken pieces from trimming bigger specimens.
- Buy a starter quantity of boxes in the size your local group uses.
- Mount ten specimens and catalog them before mounting more. The habits you set now (one box at a time, label first) are the ones that keep a thousand-box collection in order.
- Ask about trading. Exchanging material and mounts with other collectors is a common way to add species.
Where micromounters meet
Micromount collectors have their own societies within the wider club world. The Boston Mineral Club, for example, lists the Micromounters of New England, based in Chelmsford, Massachusetts, as a "Mineral club for those interested in micromount specimens," with a symposium each April, a monthly newsletter and field trips [6]. How clubs and the American Federation of Mineralogical Societies' regional federations are organized, and how to find a local club, is on clubs, federations and societies.
Micromounting has a long history among serious collectors. Willard Perkin, after whom the thumbnail box is named, "developed a strong interest in micromounting" and late in life kept "only his thumbnails and micromounts" [7]. The next size up, and the box named for him, are on perky boxes and thumbnails.
References
- iRocks, *Size Matters! Collecting Miniature Mineral Specimens*, June 9, 2016. https://www.irocks.com/size-matters-collecting-miniature-mineral-specimens
- Raymond McDougall, McDougall Minerals, *Size Matters!*, page dated 12.09.2013. https://mcdougallminerals.com/?p=33
- A. L. Flagg, *Petite Minerals*, Arizona Highways, November 1957. https://www.arizonahighways.com/archive/issues/chapter/Doc.406.Chapter.2
- National Park Service, Kathy Hall, *Storage Concerns for Geological Collections*, Conserve O Gram 11/2, April 1998. https://www.nps.gov/subjects/museums/upload/11-02_508.pdf
- Canadian Conservation Institute, Jean Tétreault, *Products Used in Preventive Conservation*, Technical Bulletin 32, issued February 7, 2018, modified February 19, 2021. https://www.canada.ca/en/conservation-institute/services/conservation-preservation-publications/technical-bulletins/products-used-preventive-conservation.html
- Boston Mineral Club, *Links*, read October 22, 2026. https://bostonmineralclub.org/links/
- Jim Houran, Jim Bleess and Alex Schauss, *Little Wonders: Connoisseur Thumbnails in the Contemporary Collector Market*, iRocks, April 7, 2020. https://www.irocks.com/little-wonders-connoisseur-thumbnails-in-the-contemporary-collector-market